Month: March 2017

  • (3) Lumo Mine Cart Chaos

    (3) Lumo Mine Cart Chaos

    (3) Lumo Mine Cart Chaos

    Working Our Way to the Mine Cart in Lumo

    Starting right where we left off in Lumo last time we’ve got four doors to pick from and of course I pick the wrong one right off the bat. The door next to it leads to a similar dead end, but at least we get a coin and take a quick bathroom break. Taking the complete opposite door brings us to a room with some easy conveyor belts to a map of the area were in. Learning that the last door is the correct door I make my way over there. This leads to some shifting walkways and room with the key we need. It’s as easy as moving the wheels on the ground to move the platforms into a position to make jumping over to the key possible. Grabbing the key allows us to open the door on the other side of the map.

    Lumo -3- Even Heros Need To Use The Bathroom
    Even heroes need to use the bathroom at some point

    Moving through the key door brings us to four more doors, it’s just a never-ending sea of doors in this place. It turns out to be no big trouble as you simply need to climb some cabinets to reach the ceiling and platform to the objective. After grabbing the wheel to the mine cart we proceed back and place the wheel on, this allows us to move forward.

    Aforementioned Mine Cart Chaos

    Lumo -3- Mine Cart Chaos
    This mine cart section is easily the best of the game yet!

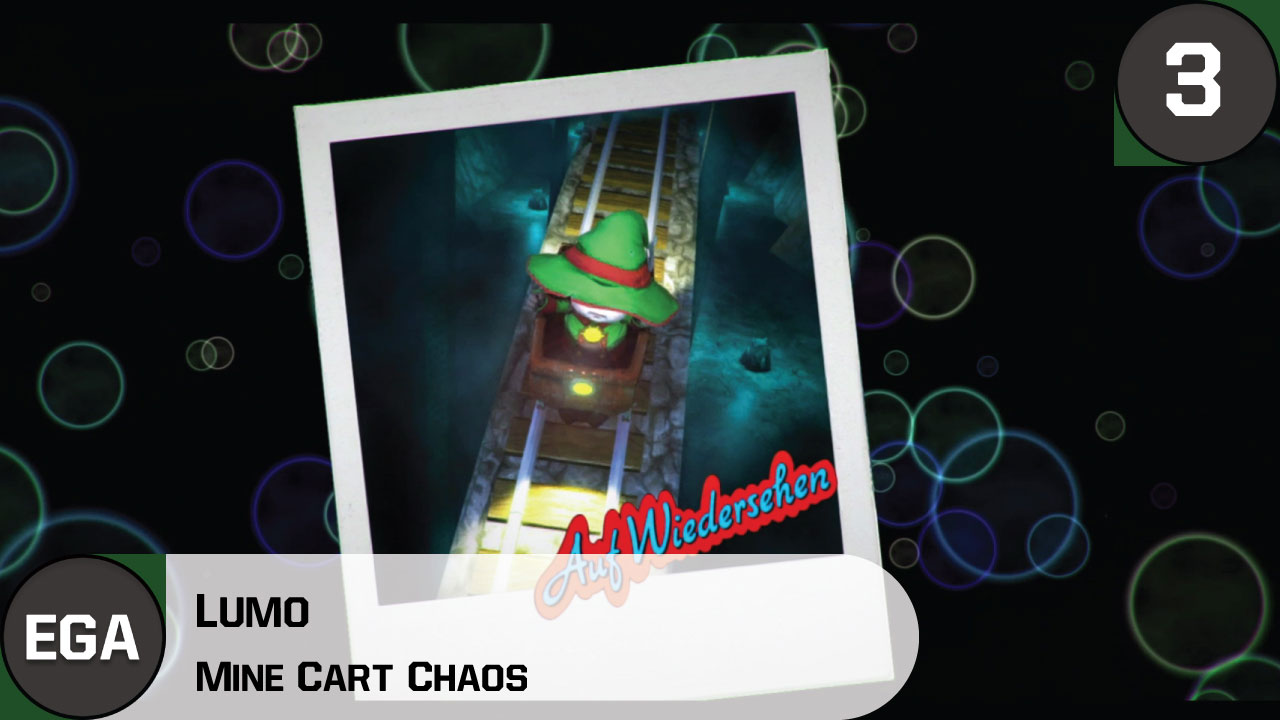
    The minecart doesn’t get more involved than just simply press X to jump and move left to right to change lanes. That being said it still is the best part of the game yet. It doesn’t overstay its welcome, it is a fun little diversion and manages to get move you forward. What more could you ask for really? I manage to screw up a fair amount of jumps, failing more than I should have. But I had to make sure I collected all the coins along the way. Simply because I have to get them all, it’s hardwired in me to collect everything. Towards the end, there’s a camera that takes your picture, and the character reacts. This is a nice touch and produces a neat little picture.

    Lumo -3- Mice Cart Picture
    I have no idea what that wording says but I bet its amazing

    Moving Below the Depths With New Creepy Crawlies

    Coming off the mine cart we end up in a what seems like a church. After a bit of exploring and obtaining a map and cassette tape, we press forward. The next part is simple as we just have to push three pillars into a position with no real trouble. The room we drop into has a grim reaper looking dude asking for a second gemstone. We have to get him one to open the door so it’s time to check out more random doors. Continuing to surprise we get a room where we have to swing on a rope and continue to a pullable lever. This opens a new door and we press onward.

    Lumo -3- Spiders Why Spiders
    Why oh why did it have to be spiders

    We run into a big gigantic spider and I leave the room as fast as I possibly can. Unfortunately, I run into another room with even more spiders, they’re just smaller. It doesn’t help that I did as soon as I enter the room. Inching my way to the last room that I have yet to check, I run in ready. Fortunately, the room just has a switch that kills the big spider. I move to where I once could no go swing to a door and learn how to swim.

    Swimming In the Depths

    Lumo -3- Swimming In the Depths
    You get an oxygen bar and everything

    Swimming is pretty basic, just jump when you need air and don’t jump to sink. You can use the air coming out of the ground to refill your oxygen bar. Pulling the lever is easy and opens the door to move forward. Following it we flip a switch and reveal a new rope to swing to the once inaccessible door. I decide to go down and run into a whole bunch of spider eggs, I grabbed the cassette and got out of there very fast. Lastly, we swim through some rooms pull one last lever and that’s where we call it for this episode.
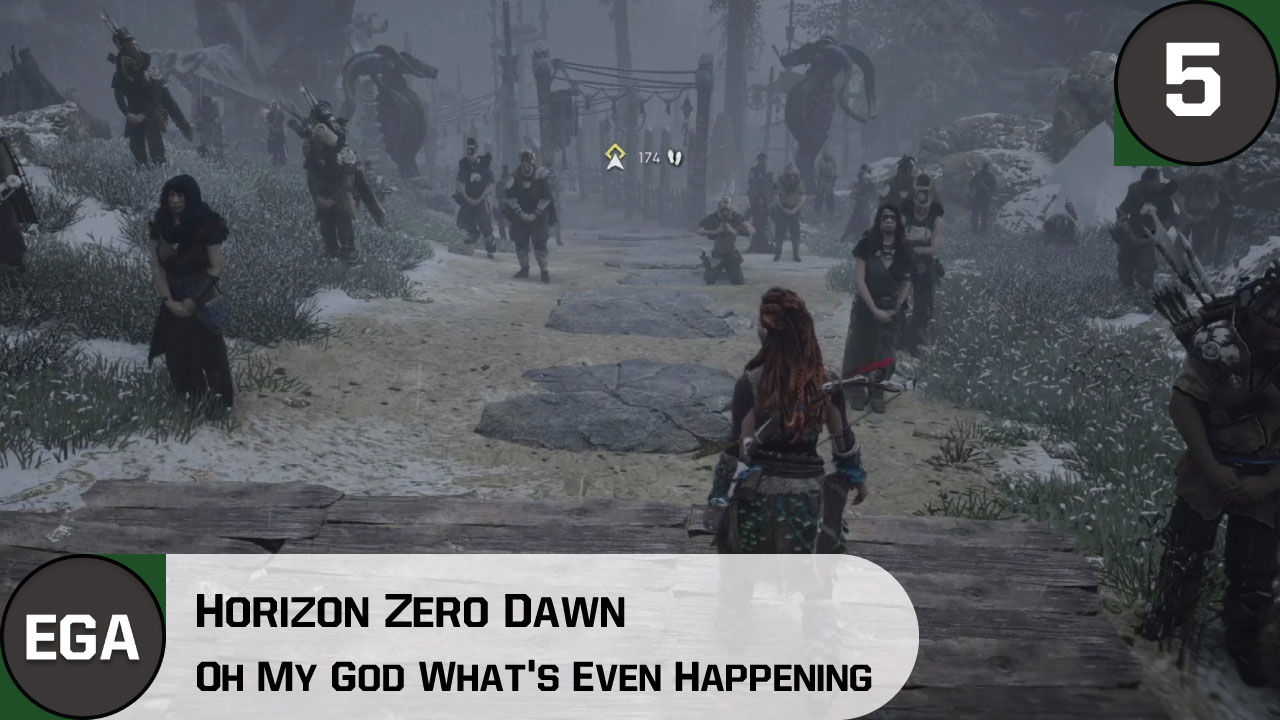
  • (5) Oh My God What’s Even Happening in Horizon Zero Dawn

    (5) Oh My God What’s Even Happening in Horizon Zero Dawn

    (5) Oh My God What’s Even Happening in Horizon Zero Dawn

    Horizon Zero Dawn Allows Time For Reflection

    After fighting for survival, playing Horizon Zero Dawn continues to be emotionally exhausting, now I may be in a majority here. But I tend to get emotional with most games I play. I’ll cry if something sad happens, I’ll get mad along with the main character and I’ll want revenge if given the chance. In my mind, I don’t see a point in playing a campaign if you’re not going to hunker down and invest yourself. It just makes everything way more fun and allows you to become a part of the world. Heck, it’s the primary reason I made this site, to express my feelings and thoughts alongside my gameplay videos.

    Aloy standing in front of a gate with fog
    This picture sums up what has happened lately pretty well

    We start with a scene of mourning as everyone came around to pay respects to the fallen in The Proving. It’s a slightly sad walk down the road, it’s kinda cathartic in away. It gives you ample time to process everything that just transpired for poor Aloy. This is what Horizon Zero Dawn excels at, making something happen but allowing you time to disgust it. Let’s analyze things real fast; Rost died, everyone else at The Proving died, Aloy is now a seeker, wow that was fast.

    Alright Just Never Let Your Guard down in Horizon Zero Dawn

    We run in Teb by the gate we’re trying to leave through just for a little recap on everything that has transpired. Anyway time to leave but first we have to get that gate open. Unfortunately, to open the gate we need Resh to order it open, he was the guy that was in charge of the first part of The Proving. Of course, he is completely unhelpful and really rude after learning that Aloy is now a Seeker. I decide to air on the side of intelligence and outwit him which was a reasonable move. I just didn’t want to incite more violence, there was enough of that lately.

    Corrupted Robots
    This new machine baddie is corrupting the other machines for evil

    Just as soon as we’re about to butt heads a new machine comes out of nowhere and sends out so bad mojo. I’d imagine it’s being controlled by someone with a focus, but basically, it’s taking control of the other machines. This is bad, like really bad; super amazingly bad. The machines rushed the gate and we had to be ready for one hell of a fight. Of course, I blow the beginning by not trapping the spot right in front of the door. Man, I felt so dumb cause this disrupted everything after the gate was torn open.

    Defending the Village from the New Threat as All Hell Breaks Loose

    Walls Crumbling Down and Aloy needs to defend the gate
    The gates to the village have been opened and the odds are not in our favor

    From this point its just a fight to stave off the oncoming horde of machinery. I did not handle this fight exceptionally well, I felt very underprepared. Now I’m not to say that it felt cheap I just don’t think I handled it all that well. While the not big scary machines went down with little to no problem the new menace was a whole different story. No matter what arrow I used it didn’t seem to matter much when trying to do damage. Regular arrows weren’t worth it, fire arrows just felt worthless and the TripCaster was no help at all. Any attempt at going in for a melee attack just ended with me thrown around with a big chunk of health taken off.

    The only recourse I had was to keep my distance and just take its health down bit by bit. Now I do realize that I could have been more calculated and taken off his body parts with some good strikes. However, amid battle, it was way too intense and it moved way to fast for me to even think about it. Let alone pull it off with my awful aim. In the end, I just kept my distance, dodged his long-range attack, and whittle its health down till it died. It felt like a long time even though it wasn’t a very long battle. After taking it down we retrieve the part is was using to control the other machines and add it to our arsenal.

    Staff Upgrades for Aloy
    Yep that looks professional

    O’ Brother Where Art Thou

    Now Aloy thinks we can control the machines herself with the thing we pulled from the machine. So we gotta test this theory out. However, before we get the chance I hear a voice in the distance who needs assistance. Turns out Olara needs help finding her brother, thankfully as Aloy has just passed The Proving she has no quarrels talking with her. We ask some questions and zip line down to the scene of the crime. We arrive at a deserted camp and do some investigative work that devolves into following a blood trail.

    Aloy following a Blood Trail
    Being a master detective is a truly useful skill in the wilderness

    Turning on the Focus reveals that the blood managed to travel quietly the ways away from the camp. We find a knife, a bucket, fight off some machines, check out a pig head and reach a machine doing something odd. We discover that the brother must be a good fighter as he managed to take down a machine. But soon after we find a bunch of discarded food and gear. We finally catch up to the brother as we hear him shouting how he’s going to kill himself. Which you know is never a good thing.

    Talking Brom Down From the Ledge

    Talking Brom off the ledge
    Man this game can just be one gut punch after another and this is just a side quest

    Brom thinks he hears voices telling him to do terrible things. Taking a moment to analyze the situation I decide to choose the choice where we talk to him rationally. By making him come closer we talk him away from the ledge. After a little crazy chat Olara (his sister) states that she was following us and just glad we found him. With the choice of letting him go with her or back to a tribe for help, I decided to leave him with his sister. Now is this going to come back to haunt me, I’m not sure but I sure am curious.

  • (4) Fighting for Survival in Horizon Zero Dawn

    (4) Fighting for Survival in Horizon Zero Dawn

    (4) Fighting for Survival in Horizon Zero Dawn

    Horizon Zero Dawn – Fighting a Losing Battle

    Not Looking Good for Aloy
    Things are not looking good from Aloys point of view

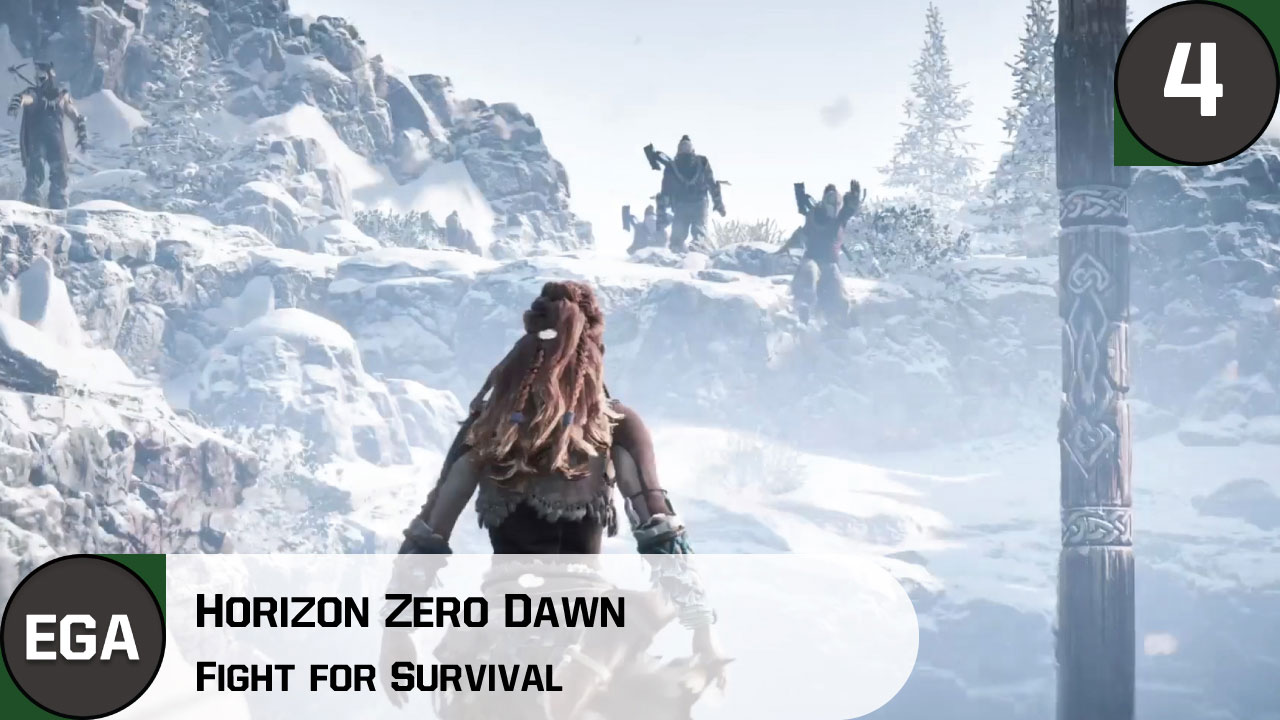
    So we’re back after a pretty crazy ending from the last episode. From the get-go, we see that the other people that participated in The Proving are not very helpful. As it sure seems like Aloy has to do all the heavy lifting of taking these guys down. It’s a basic defeat all enemies to proceed kind of deal, but hearing everyone freak out is kind of chilling. Aloy attempts to hold off all the enemies as the people run to safety. After the first batch, the others get to a better position to not die. I was pretty blown away at just how useless they were after talking such a big game. It’s a good moment to realize that Aloy trained hard and earned the right to be as badass as she is.

    We save a few more people as Aloy, Bast, and Vala are pinned down by the cover fire. The leader of this little group comes out with a big Gatling gun and lays down cover fire. Which to be honest was a bit unexpected as I just the machines had this kind of firepower. Sadly Vala picked an awful place for cover as the Gatling gun tears through the wood and she gets killed. Bast runs out to help her and also manages to die right next to Vala. The leader calls for them to take out Aloy as well but we can’t have that happen. It’s a fairly easy fight as I take them down one by one. Stupidly I take down the leader last and can’t use his amazing Gatling gun on anything.

    Aloy Just Can’t Catch a Break

    Taking out the leader triggers a cutscene where we learn that these bastards also have a Focus. This is strange as we just met someone with one not too long ago. But now there is a whole tribe or army equipped with them, that just doesn’t seem fair. Failing to notice a big guy walking up behind us we get grabbed and dragged to the edge of the cliff. Here we get out throat slit, which is just what we needed here after all the other stuff.

    Aloy being held over the edge of a cliff
    Oh god it’s too high, we can talk this out

    While everything seems hopeless Rost shows up out of nowhere to help stave off this assailant. We get a pretty cool fight scene where Rost rights like a total badass. But the baddie pulls a fast one and breaks Rost stick allowing his knife to hit its mark. Rost goes down and claws his way toward Aloy, but the bad guys are one step ahead. They place a big explosive and light it to destroy everything in its explosion. Rost takes Aloy, says his quick goodbyes, and tosses her over the edge of the cliff to safety.

    Rost Throwing Aloy of a cliff to be safe from an explosion
    This is easily one of the toughest scenes yet in the game

    Aloys Origin Is Just Insane

    Some flashbacks and Aloy wakes up in an unknown room with no one else in sight. Walking through a few rooms we recover our Focus as well as our clothing. After scanning in our bow again, for some reason. We take the Focus we pulled off one of the people we took down. Seeing the attack plan laid out for what happened during The Proving. We also see that their target was to take Aloy down, also that she may have a real mother. Teersa shows up and tells us that Aloy was born here and placed on an altar inside the Mother’s Heart. Aloy steps upon the altar and a door scan attempts to allow the door to open so we can see if her mother is still alive. Of course, it malfunctions and we’re left with more questions than answers.

    Aloy Opening The Altar Door
    Teersa thinks Aloy materialized in from of the door, I’m sure the door was just opened and closed

    Becoming a Seeker

    So now we have our groundwork for the game, go get some things to be able to open the door. On our way to the service, we learn that these bad guys are killing everything and even corrupting the machines. Allowing them to control the machines without getting their hands dirty. We’re appointed a Seeker to go out into the lands and get what we need after a little conversation. Now the world is open and I can’t wait to see where the world takes us.

    It only gets worse from here in the next episode.
  • (3) The Proving in Horizon Zero Dawn

    (3) The Proving in Horizon Zero Dawn

    (3) The Proving in Horizon Zero Dawn

    Horizon Zero Dawn Has a Nice Relaxing Build up to the Proving

    After battling sawtooths, this time around Horizon Zero Dawn we’ve got some ups and downs but we’ll get to the downs after some nice ups. To start things off we talk to Rost one last time before it’s revealed that he will be leaving and to not go looking for him. Once we pass “The Proving” well become a Brave and in this join the tribe and no longer be an outcast. In turn, I’d hope more people will be nice to Aloy in this harsh world, but to get there we have to go through the village. Everyone has different opinions and it’s pretty interesting to see such a nice diverse set of characters.

    Before heading inside we tell Rost that no matter where he goes we’ll find him since he trained Aloy to be such an amazing tracker. Also with the help of the focus, I don’t see many problems on this front cause that thing is damn useful. Heading up to the entrance we get held up at the gate by some guardians. Thankfully Teersa has our backs as she lets us in and tells us to enjoy ourselves on our way to the ceremony.

    Not The Warmest Welcome for Aloy
    Not the warmest reception to something Aloy was invited to take part in

    Taking in the Culture of a Tribe in Horizon Zero Dawn

    As we enter the settlement of Mother’s Heart we can take in some native culture on our route. You can sit on a log to watch a little song and dance. Check out some guy stuck at the top of a house as his wife gets mad at him. Sit back and relax with a children’s story, we also run into Karst again. He wants us to know that he’s rooting for us but wants to keep are the earlier sale of the TripCaster a secret. He’ll become a true merchant for us once we complete “The Proving” and become a brave, so that’s something.

    Throwing Fruit and Erend telling people to stop
    The villagers are throwing fruit at someone with such cool clothes and it just gets to me

    We come upon someone trying to say an apology to the villagers for a past leader’s misguided views. The crowd isn’t having any of it, but thankfully Erend can calm them down. Erend is probably my favorite character yet in the game as he just has a good way with words and is super likable. While this is going on we notice someone else in the crowd with their focus. Naturally, we move in to learn more as this is the first person other than Aloy we’ve seen with one.

    He’s pretty amazed to see someone in the tribe to be wearing a focus, but once we say we’re an outsider he states that this makes more sense. He scatters away as his Focus malfunctions, which was weird. We discuss some of the armor choices made with Erend and make our way to the ceremony.

    All Mother’s Lanterns and Lodging

    We learn that the Lanterns to be lifted to the sky are created by the participant’s mother, thankfully Teersa crafted ours. Who wants to be left out, no one that’s who. We’re given a choice of who to dedicate this lantern to and I choose to go with Rost since he was the one who raised and trained Aloy. Lifting the lanterns to the sky is a nice little scene and now it’s time to rest up for what everyone’s been waiting for; “The Proving”. We run back into the focus wearing guy and question him but he’s super sketchy and weird so we’ll just continue onward.

    Bast and Vala talking to Aloy
    Bast on the left is a total asshole, Vala on the right is my new best friend

    Entering the lodge after a little mean-spirited back and forth with a person named Resh, we see who’ll be joining us in “The Proving”. Bast was the kid from the beginning who hit us in the face with a rock and he still brings up. Like he’s so proud of it, thankfully Vala’s got our back and we play out this conversation with no violence. Cause man did I want to bash Basts face in. He thinks he’s so cool with that right eye makeup, but he’s not. We become quick friends with Vala. Before going to sleep but before we know it it’s time to finally get to “The Proving”.

    The Proving

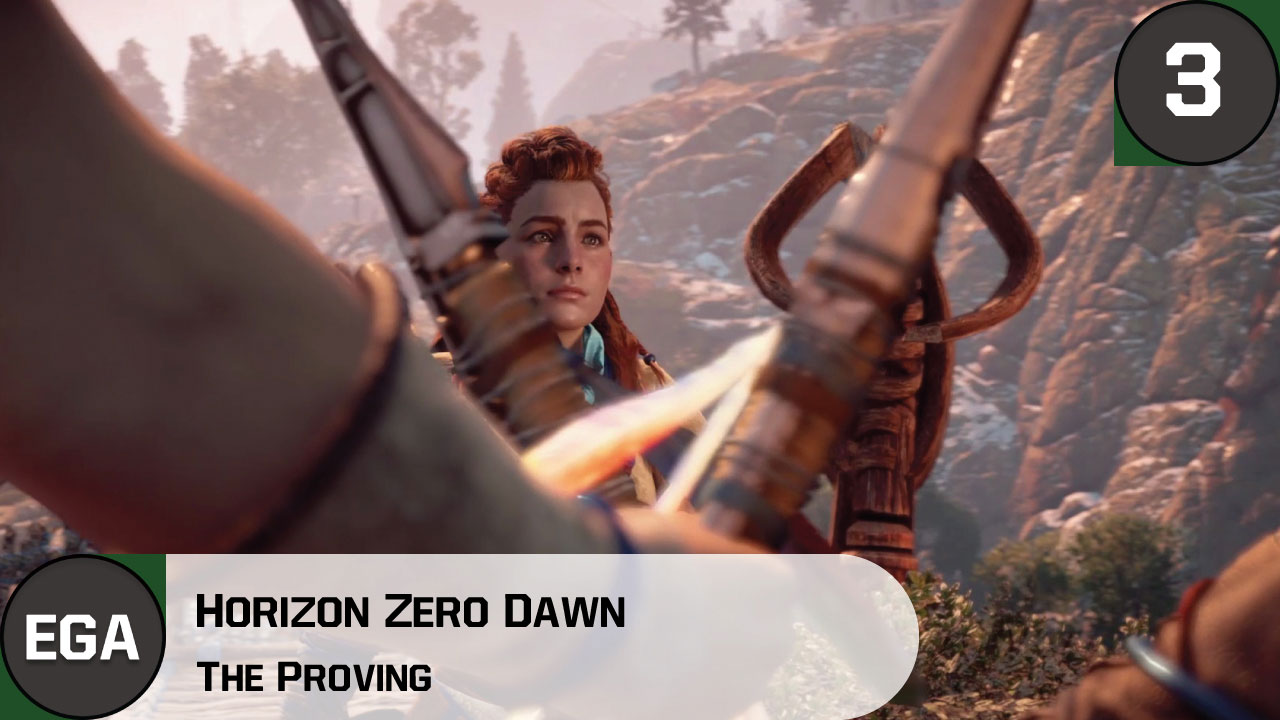
    After a amazing montage, we learn that it’s time to get down to business. We simply need to take down a machine and grab a trophy from it. I’m fairly certain that I was a bit under-leveled for this section as taking down my trophy was tough. It took a lot of arrows, dodging, and probably luck to take just one down. Just as I get mine Bast shoots my trophy from my grasp and I have to get another. This takes up even more time and I’ve got a lot of catching up to do. Oh, and the fact that I died didn’t help anything.

    Aloy Taking the Trophy Take Back
    This part was a bit defeating as getting the first trophy was fairly tough

    I’m able to kill another machine and push forward to try and play catch up. Seeing that there is a fork in the road Aloy decides that taking the normal path would mean failure. So we utilize the old path that will probably kill us, great choices made here. It’s just a little tougher climbing section, I like how you can see the others in the background. Also, they talk about how you’ll never catch up and are amazed at what you’re doing.

    Aloy getting to the top first
    First has never felt so amazing

    We manage to make it in first and pass everyone, we’re told we’ve become a brave and everything is just roses. For like 5 seconds; then it all goes to hell. I’ll be honest I knew something bad was going to happen, but what happened caught me off guard. I was sort of awestruck at just how off the rails Horizon Zero Dawn goes from this moment.

    Everything Just Goes To Hell

    Practor taking an arrow to the should
    It’s about this moment that everything goes bad, like really bad

    Suddenly we’re bombarded with tons of arrows falling from the sky by some masked baddies. There human and they’re ruthless. Killing several people and starting to leave no one alive. It’s looking really bad as Aloy takes to cover a moment to think the situation through. But before you know it we’re in the thick of battle and have to take down every last one of these masked baddies. But that’s for the next episode.

    Now it’s time to fight for survival!

  • Tearaway Unfolded Is Amazing | Paper-Crafting Magic

    Tearaway Unfolded Is Amazing | Paper-Crafting Magic

    (1) Tearaway Unfolded Is Amazing | Paper-Crafting Magic

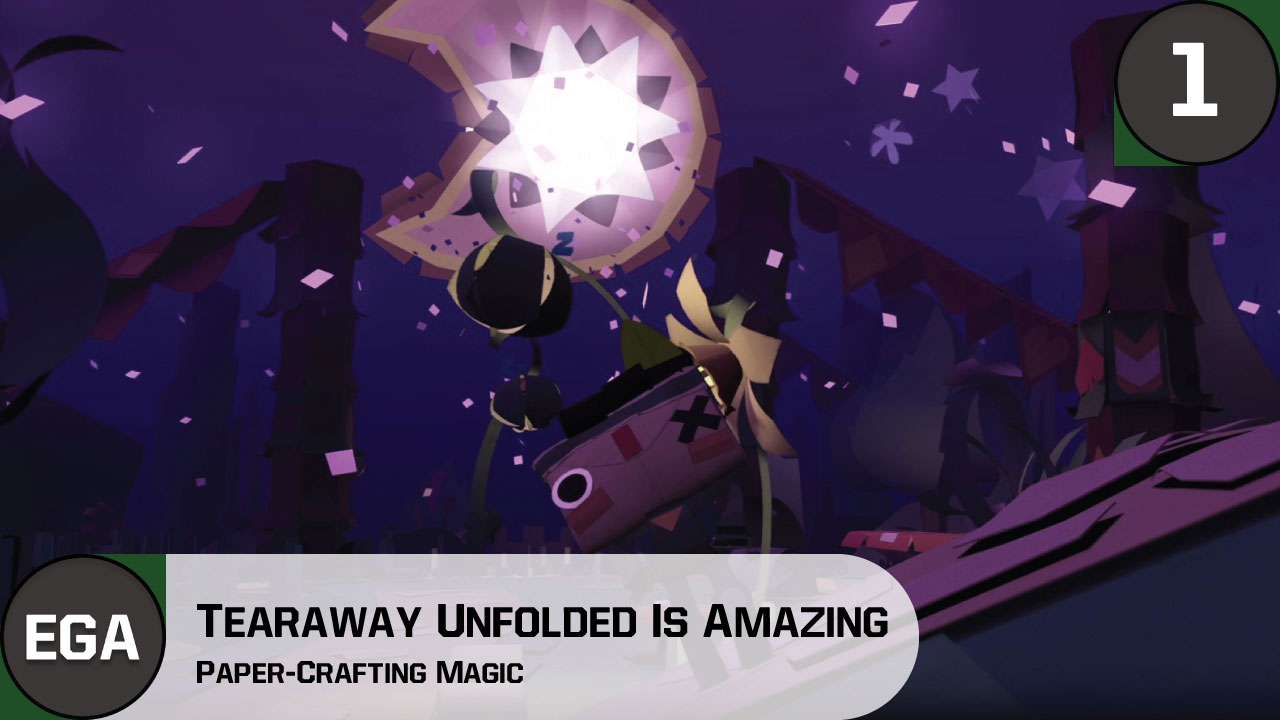
    Tearaway Unfolded Is a Papercraft Dreamland

    As soon as I saw that Tearaway Unfolded was free on Playstation Plus a big smile was crafted into my face. The game on the Playstation Vita was just awe-inspiring, it was such a unique little adventure that managed to showcase everything the Vita had to offer.

    It the Vita was capable of doing it then Tearaway took advantage of it and brought it to its full glory. I never had the chance to play the Playstation 4s version of Tearaway Unfolded but now I have the option and am more than ready to dive right in!

    Small Hero Big Adventure
    You’re just a little Iota trying to get to the great big moon

    The World Is a Story Book and You Get to Turn the Pages

    Paper craft Fire and the sky tore open
    That fire is just so warm and peaceful

    In Tearaway Unfolded you start with a simple objective after a relaxing opening, to get a message to the moon. Seems like a simple task until you realize you’ve got a big and crazy world to get through.

    After a bit of exploring we come to a doorway and a cutscene stops us in our tracks. Turns out the world is just a tad to peaceful and it’s time for a nasty twist.

    The moon opens up and a horde of scraps come bursting in Lumos world, thankfully we as the player have got the tools to bring them down. The villagers may run in fear but we’ve got the guiding light to help put an end to the scraps.

    In this first area, we get to open a little house that scraps covered up to save some villagers. Throw some scraps down a well and crush some of the last of them with a nice big seesaw log.

    Tearaway Unfolded Has Presents and Wants You to Open All of Them

    Villans
    A good story always has a villain

    In the next area, we get to relax a bit and shot some hoops. In the process, we learn that presents are scattered throughout the world; there are red and blue presents.

    The red presents are opened by just getting next to them and hitting the touchpad button on the Dual Shock 4 controller, the blue ones are a tad more tricky. These are opened by completing secret tasks in a given area, in this first area it’s as easy as making all the baskets.

    I also like how you can use the guiding light to take away the scraps that have plagued the world. I have no idea if this accomplishes anything or if there is some bigger goal but it is cathartic and makes you feel good. After dropping down to a new area we give some squirrels an apple and retrieve another blue present.

    Must Collect All the Things

    Iota Scrap Collecting
    Tearaway has a lot of stuff to collect and I must have it all

    I spend the entirety of this next area collecting everything that isn’t nailed down. It’s nice and relaxing you just go through this soothing world and collect, destroy scraps, and move forward at your own pace.

    Nothings rushing you, nothings nagging you to get something done, it’s going at the pace you set. Paper crunches under your feet, legs open up so you can cross, everyone says high to you it’s so nice.

    Customizing Iota Is Just Charming

    Customization Screen in Tearaway Unfolded
    Tearaway gives you some nice customization for Iota, hey I recognize some of those stickers

    Iotas face is your canvas in Tearaway Unfolded, the game pauses to tell you to make him your changes. I sort of making a nice little headband using the stickers from past games I’ve played.

    It’s cool that those are there, I’d imagine it’s scanning my Playstation saves and unlocking them based on that. I like to think the X is a scar so I place an eye over that and give little Iota a mouth. You know for practical reasons. The little things collected throughout the world are used to unlock more stickers to place on Iota. Also, there are costumes to choose from but those are to boilerplate for my liking.

    Setting the Stage for the Rest of the Game

    Setting the Stage for all the good mummers
    Literally and figuratively

    To cap off this episode we come to a stage show but they’re missing a light source for the main star. Luckily we have a guiding light that fits the bill and the show manages to go on.

    It’s a nice little set piece, charming, cheerful, and brimming with personality. But oh no the star of the show can’t go on because he doesn’t have a crown. We get a cool little section where we are tasked with creating a crown for him. I take a stab at it but using the touchpad on the Dual Shock 4 is just awful, there’s no fluidity and I just screw it all up.

    But dammit If I didn’t try and the star sure seems happy about his sweet new crown. We clear the stage of scraps, take a couple of selfies with the star and call this an episode.

    squirrel wearing a crown
    The star loves the new crown so I feel better about my awful design

    Let’s move onto meeting the squirrel king!

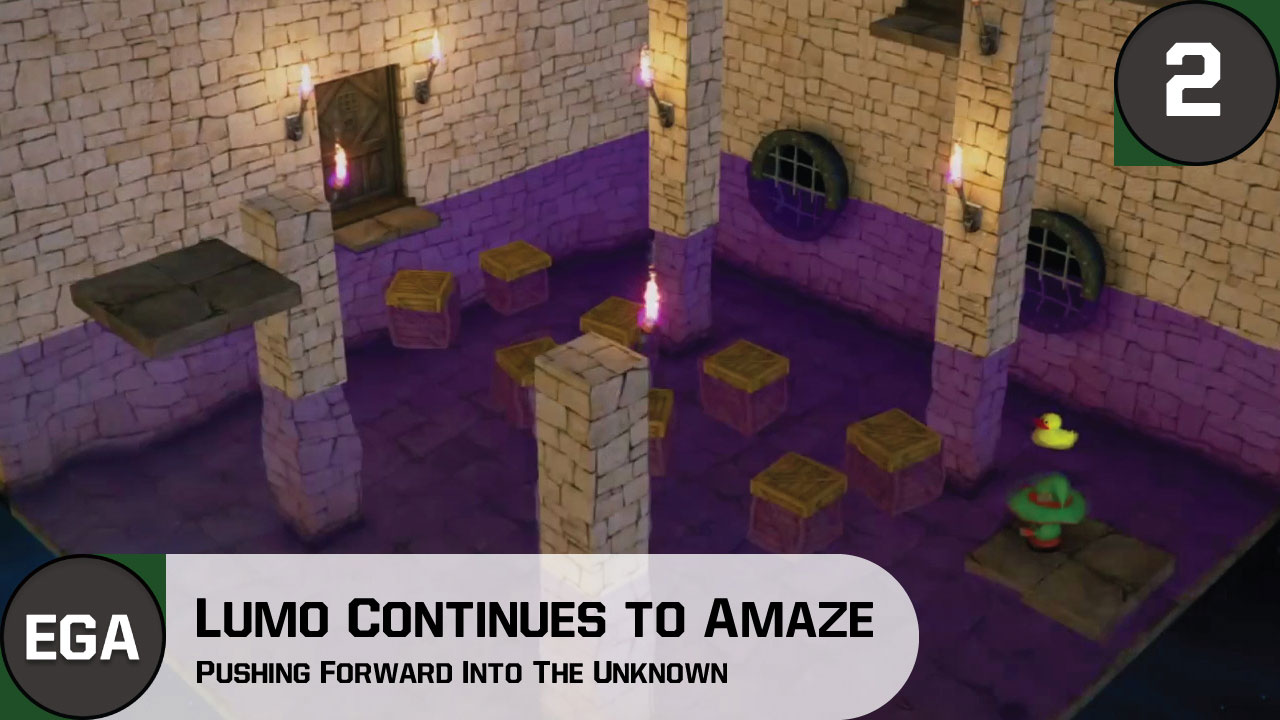
  • (2) Pushing Further into the Unknown in Lumo

    (2) Pushing Further into the Unknown in Lumo

    (2) Pushing Further into the Unknown in Lumo

    Lumo Keeps You Thinking

    After solving some mind-bending puzzles, Lumo is a game I just couldn’t get out of my head. Between Horizon, Zelda, and Nioh it somehow managed to pull me back in. Wanting to see how deep the strange rabbit hole goes is a great motivational tool. It’s so weird and unique that diving deeper was needed just to get a better sense of what Lumo is. Starting where we left off the last episode we journey through a door that I was able to open off camera. This brings us to a conveyor belt rife with danger; a few jumps and we’re back in the room that was closed off last time. Using the new entrance to jump on some crates we move forward in our adventure.

    Lumo Backtracking to Move Forward
    Sometimes you gotta backtrack to progress in Lumo

    Platforming Is the Name of the Game in Lumo

    Lumo Donkey Kong Reference
    Well this looks oddly familiar and reminiscent

    The first room is a throwback to the Donkey Kong of old, barrels, and dodging; the twist is you’re going down not up. Next up is to spin a wheel to lower the water level so we can progress downward. It’s pretty cool that everything in the game is given the bare essentials of simply jumping on it. This seems to the theme of Lumo, jumping will solve any problems. Moving through a ball rolling room that took me far to many attempts were in the room where we lowered the water level. Jump some boxes and to the other side through a portal, we go.

    Dropping Balls to Move to the Jumping Gauntlet

    Lumo Dropping Balls to get a big ball
    I’m just going to say that the big ball vanished and I have no idea where it went

    Coming to a small ball puzzle that’s as simple as moving the balls into holes by moving some boxes. We get a small gauntlet on our way to our final goal. Jumping over spikes on some conveyor belts proves to be a little taxing. Next up is some slow-moving platforms that aren’t much of a challenge. Spin another wheel to open a door and going through the door causes something I did not see coming.

    Lumo Oh God Run
    Oh God Run, that’s where the big ball went to Ahhhhhhhhhhhhhhhh

    The big ball we just dealt with not too long ago is now after blood and it’s coming at full speed. Having to jump over ground spikes as well as dodge ground spikes, the goal is to make to the exit before the gate closes. The fact that he goes back for his hat was a nice detail that I appreciated.

    Magnets for the Win

    Lumo Giant Magnet
    It’s an odd claw game, but it wasn’t too difficult

    After escaping that brush with death we come to a little magnet claw-like game. It’s fairly simple as you just need to move the magnet to the shiny thing and bring it back. You can’t go to fast as it’ll get stuck on the geometry and just stay left behind. Now I can’t personally tell what the thingy is but as with the SD card we got last time I’m guessing it’s something tech-related. Filling out more of our little notebook we cross the water we’ve been forcing downward and come to a room with four doors. This is for the next episode as this one has been pretty fruitful.

    Let’s jump into some mind carts!