Category: Youtube Videos

This is where I house my YouTube videos.

  • (7) Free Falling Laser Light Show in Lumo

    (7) Free Falling Laser Light Show in Lumo

    (7) Free Falling Laser Light Show in Lumo

    It’s Just a Hop, Skip and Jump to Victory

    After coming from the house of tricks, I truly apologize for the start of this episode. I managed to start it while the lift was miles above me. After a bit of rambling it finally comes down and we can progress. Moving through a teleporter we return to the four grim reapers also we have gained a number in front of the final door. Progress is progress no matter how you slice it. The door we finished is now closed and I dive into the closest one and another teleporter. We have to move a spring to reach a door, jump over some icy platforms, dodge a laser grid on a moving platform and we have a map of the area.

    Next, we come up against some rotation spiky UFOs that move when you get close and of their own accord. Push a spring on top of a box and we’re making good progress this episode. I like the next room, you have to make the bee hit the target in the center, not too hard but kinda fun nonetheless. Using a spring in the next room we hope to door. Using the wand we need to create a path for a crate to follow us across to hit a switch. The crate is a little slow but getting it to open the door is no sweat.

    Bee attacking and a bulls eye on the floor
    No hit the target, please hit the target, no not me that’s painful

    Starting up the Laser Light Show

    Sliding on some icy platforms we make it to the key we need. Move through a spike maze with a spiky UFO that moves when you get near it, just tricking it works wonders. We move to a cassette that I honestly have no idea how to reach. There’s no platform to jump on or create with our wand, but there is a switch on the other side but I just don’t have the energy to try and figure out how to reach it. We use the key we just got on the door ahead and now the real puzzle shows it face, we just need to activate it first.

    Seeing the giant glowing orb I work my way through a couple of rooms to get close enough to activate it. We move through some fast-moving spikes, dodge fire blasting UFOs, get through a fire floor room, bounce to a door, and reach the upper levels. One thing I am glad about is that I did manage to not fall while going for the orb. Cause if you do you have to climb back up and that would just be awful. Powering up the orb allows us to start working on the final puzzle of this area.

    Giant Glowing Orb in the center of the room
    It takes all your magic wand energy to power this thing

    Bouncing Lights to Match the Colors

    Now the first part of this puzzle is really easy and just requires that you push a prism into the correct place. This ensures that the light hits all its targets and breaks into multiple colors. It’s the room after that is a bit of a problem, you have to take the colors you just broke apart and move them into their identical color. We a limited number of reflectors in the room and three-color targets. They can overlap but can’t be blocked by a reflector. It does take some doing but it’s not the end of the world, just move everything where it makes sense. It may seem intimidating but it’s not.

    Color Laser Puzzle
    Easy, no problem… Where the hell do I start?

    After that room I move to a room with two switches, one opens the exit and the other opens a mystery room. I check out the mystery room to discover its just a painting of a prism, it’s probably something but I’ve got things to do. Moving out of this area we get two numbers on the final door and are one step closer to taking down these reapers and reach the witches brew.

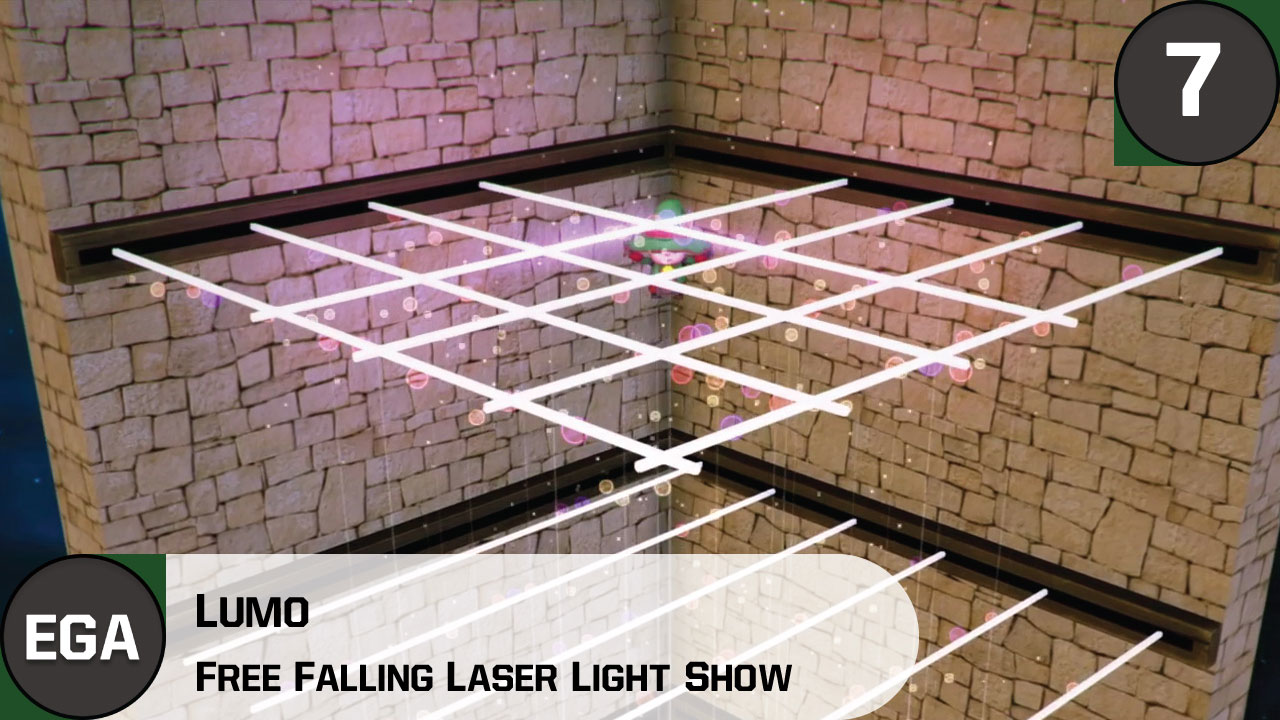
    I’m Free Failing Through a Laser Grid

    Having just two rooms left I go through the one I have yet to pursue. Moving past some trivial rooms we come to a point where we have to jump into the abyss to move forward. This part is pretty interesting and we only have to do it once so it’s not too bad in the grand scheme. You fall nice and slow so maneuvering through the lasers is pretty simple just gotta use your shadow to get a good idea of where you are. Reaching the bottom brings us to more platforming, then to a cannon.

    Free falling through a laser grid
    I’m free-falling through this laser grid-like some kind of secret agent with a big hat

    Shooting Cannon Balls and Raising Weights to the Exit

    Shooting the cannon is identical to how the first one was at the beginning of the game. You jump on it to start and then aim. The difference is the targets move and you have to hit only the bad guys. Hitting the wrong ones will cause it to reset and start you over. The controls still aren’t amazing. However, it’s no trouble as the ones you need to strike come up a lot more often. The last challenge for this episode is to raise two weights using spinning wheels on the ground. Simple as raising one to the top then raising the other. Then running to the door as fast as you can. From there we end this episode and from here we push towards the end of our Lumo adventure.

    Raising weights to open a door
    When the weights begin to fall you don’t wanna be under them

    It’s time for the grand finale, wow we’ve come so far.

  • (6) the House of Tricks Is Here to Warm You Up

    (6) the House of Tricks Is Here to Warm You Up

    (6) The House of Tricks Is Here to Warm You Up in Lumo

    Lumo Lures You in with a Warm House After an Icy Nightmare

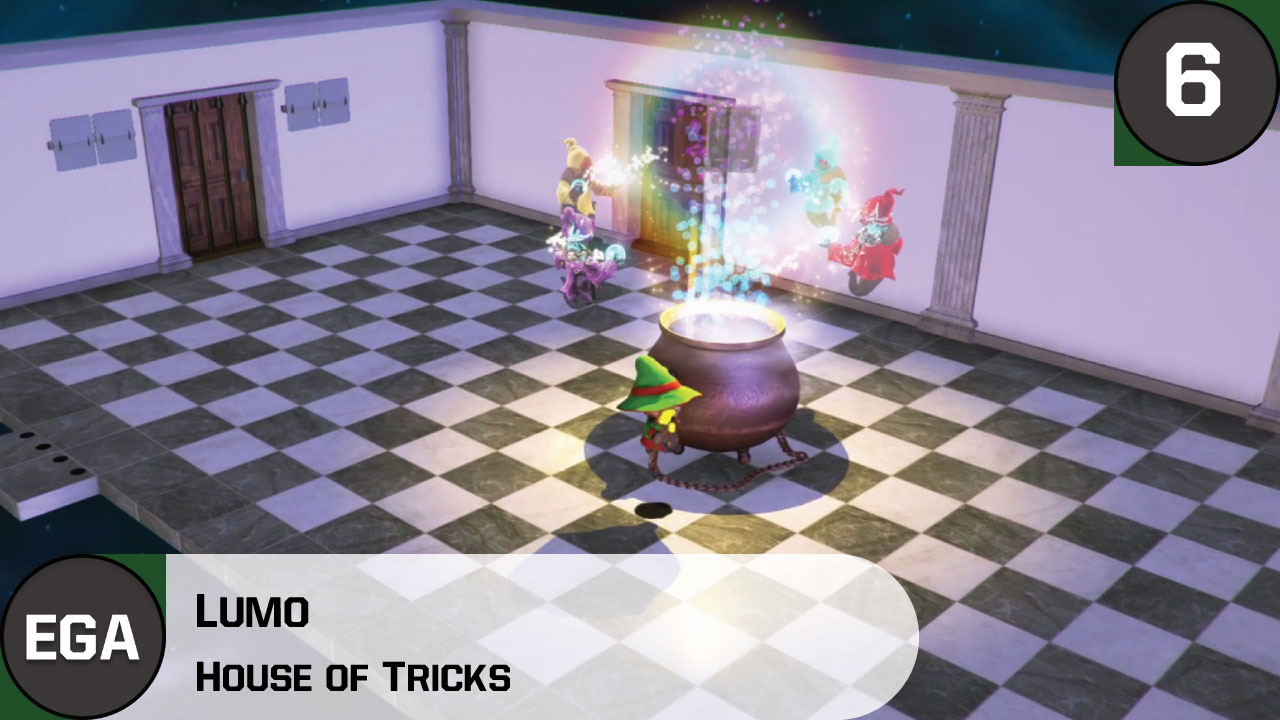
    After coming out of the icy depths in Lumo we enter a nice cozy house type area. It may be filled with traps and flames but it’s a whole lot better than anything we just went through. We start by entering two rooms in a long hallway, there’s nothing in them but it seems like someone once lived here. Grabbing a map we jump down a room and enter a big room with the four grim reapers circling a witches brew. You can’t interact with them but above the brew, we see the items we’ve been collecting throughout our adventure. Seems like we need one final piece and to clear out the reapers to finish this adventure.

    Four Grim Reapers around a Cauldron
    Their colors will make sense down the line but for now, let’s not worry about it

    Bonuses for Everyone Climbing the Tower

    We start by going through the bottom left door, which leads to a teleporter. We enter another room where the floor builds itself and we must dodge rolling death blocks. I manage to go through the only door that leads to a bonus area and this one’s a real doozy. The goal is simple, just climb the tower within the time limit. The pro tip for this bonus is to not go in circles and waste all your time as I did. At first, I’m climbing just fine at a good clip, problem is that I didn’t notice that I’m spinning my wheels before it’s too late. By the time I figure out where I screwed up the clocks already struck zero and I fail yet another bonus room. Damn, I had a good feeling about this one but it all came crashing down.

    Run out of Time
    I’m not going to point out the grammar issue here, MUST STOP MYSELF

    Enough Fun and Games, It’s Time to Get down to Business

    Now we can get down to business and work our way through this house. Being thrown out the bonus area and landing face-first we move back to the reapers and go through a different door. We pass through a flame floor that gives me some trouble, I just needed patience and to get a better perspective. The next room throws in a new tile that changes every couple of seconds. All you need to do it jump when the floor tick, we jump over some floor spikes with a spring.

    The next room is pretty cool, you move a platform with your movements in one direction. Dodging the spikes isn’t too much of a hassle but when your standing on the edge its a bit scary. Running into a fence I realize that I can’t progress and need to head back. Turns out the went the completely wrong direction so returning brings me the right way.

    The Numbers, What Do They Mean?

    Passing through a room with bouncy UFO spikes that shoot flames, cause they weren’t bad enough, to begin with. We use the wand to create a path to the other side. Now the thing about this area that manages to go completely over my head is that you need to hit the levels in the correct order. This means that I attempt the hardest room first and only manage to frustrate myself, ending up with nothing. Once I hit the switch I realize there are three switches and that the numbers in the rooms relate to building an escape. So I go room by room and do them in the requested correct order. This starts the machine and makes a bubble that we can use to cross the room.

    Bubbles Aren’t the Best Vehicles

    So for the ending of this first trial, you need to get across a pit with flames, spikes, and only a little bit of air current. The key here is to use the perspective of the room to make your way across. Problem is that it sucks, it’s rough when the best viewpoint of where you are in the little shadow you cast below you. It’s too hard to see when everything else wants to kill you. I just go into a trance and do nothing but focus to conquer this room. You have to ignore everything going on around you and just focus on staying afloat and making sure you’re in a prime position to not die. From here we grab a key and move through a key door, nothing too special but we’re one step closer to the ending.

    Bubble above a spike pit
    It’s fun until it’s not fun anymore

    Let’s jump right into a crazy awesome laser light show!

  • (5) An Icy Hell Scape What Awaits in Lumo

    (5) An Icy Hell Scape What Awaits in Lumo

    (5) An Icy Hell Scape What Awaits in Lumo

    Oh How I Hate Ice Levels, Lumo Is No Exception

    Coming from the Disco Dance Party, it doesn’t matter what the game, what the circumstances, whatever you can dream up that involves an ice floor is going to just be awful. Lumo stands above some of the rest when it comes to ice levels. It just painful to play through, the controls just aren’t tight enough to warrant a section like this. Since the main character is a tad floaty and the jump has a weightlessness to it this part just pronounces those fallbacks to the extreme. This part of the game was not fun in the slightest, it was a chore to play through, to say the least. I am ever so glad that I managed to beat this section in this episode.

    Icy Hell Scape
    I can not express with simple words just how much I hated the room pictured above

    Let’s Begin the Descent into the Icy Madness

    Oh man, how I can even manage this write-up for this episode write-up and me since I just don’t want to think about this section ever again. Let’s begin with passing through the bouncy UFOs,  not too bad since you can’t die just get bounced around a bit. Passing through that I immediately die by a laser grid, this is only the start. We learn that we need to collect two gemstones to proceed so I go through the door at the top first. From there it’s simple platforming, dodging a laser field on the first try, crossing a little path, and up a platform in a spike-filled room. We get a bouncy UFO with a spike pit, nothing too difficult. Move past a spike cube that follows you and up a tower using the light to make a path.

    Illuminating A Path Upward
    Using the wand to make a path to move forward is cool

    The Real Hell Starts Here

    Now the real hell begins, I had to cut roughly ten to fifteen minutes of footage at this point. This is mainly because this puzzle is just insane and a true test of patience; which I do not have. It seems simple but it’s deceiving in practice.  All you need to do is move ice pillars to make a stairway to the exit, easy right. Wrong. The controls are not up to the task at something this delicate. The pillars move by a simple touch and break even easier. Whether it be by hitting another pillar or the wall they will break and you will scream. I can’t explain my anger for how awful this puzzle was. Even if you think you figured it out you could make one slight error and touch something; thus bringing everything to a grinding halt.

    Ice Breaking Frustrating
    The amount of times you’ll see the ice break like in the picture above is enough to make you want to stop playing

    Pressing Forward into the Ice

    After beating that room and jumping to the door we can finally move forward and never think about it again. We jump over more bouncy UFOs, dodge a moving laser grid, jump over floor spikes, and slide down a fun ice slide. Jumping into a teleporter brings us to the first gemstone we need, not to hard just jump over the breaking platforms to the center. Now from the starting room we go to the lower door and accomplish some more platforming.

    This is thankfully much easier and although we do run into another pushing block puzzle, it’s not much of a challenge unlike the first one. Moving through another teleporter we run into the next gemstone. This one is fairly simple as we just use the wand to make our way to it using the moving platforms. I do have a bit of trouble making my way back but it wasn’t too much of a fuss.

    Failing A Space Shooter

    Before we move through the door we just opened with the gemstones I check out the other door in the main room. We end up in another bonus room, this time it’s a little space shooter. Unfortunately, I fail to realize that I only get three tries at it before it locks me out forever. It’s pretty cool and well thought out for how short it was. You just shoot and dodge everything insight, you can hold down the button for continuous shooting which is nice.

    Space Shooting Section
    I liked this bonus part, until I died too many times

    Making It out of the Ice Scape with a Fun Slide Downward

    After that failure, I move through the gem door to dodge more bouncy UFOs, make my way through a laser room, and go up to go down a slide. This part reminds me of SkiFree which was a free Windows game that came preinstalled back in the day. You slide downward, collect the coins, and try to go through all the flags. The controls are much better for this part and its pretty fun. From here we’re in a new area that feels warm and cozy. I’m much more excited to press onward since we made it out of the ice!

    Let’s jump into the house of tricks.

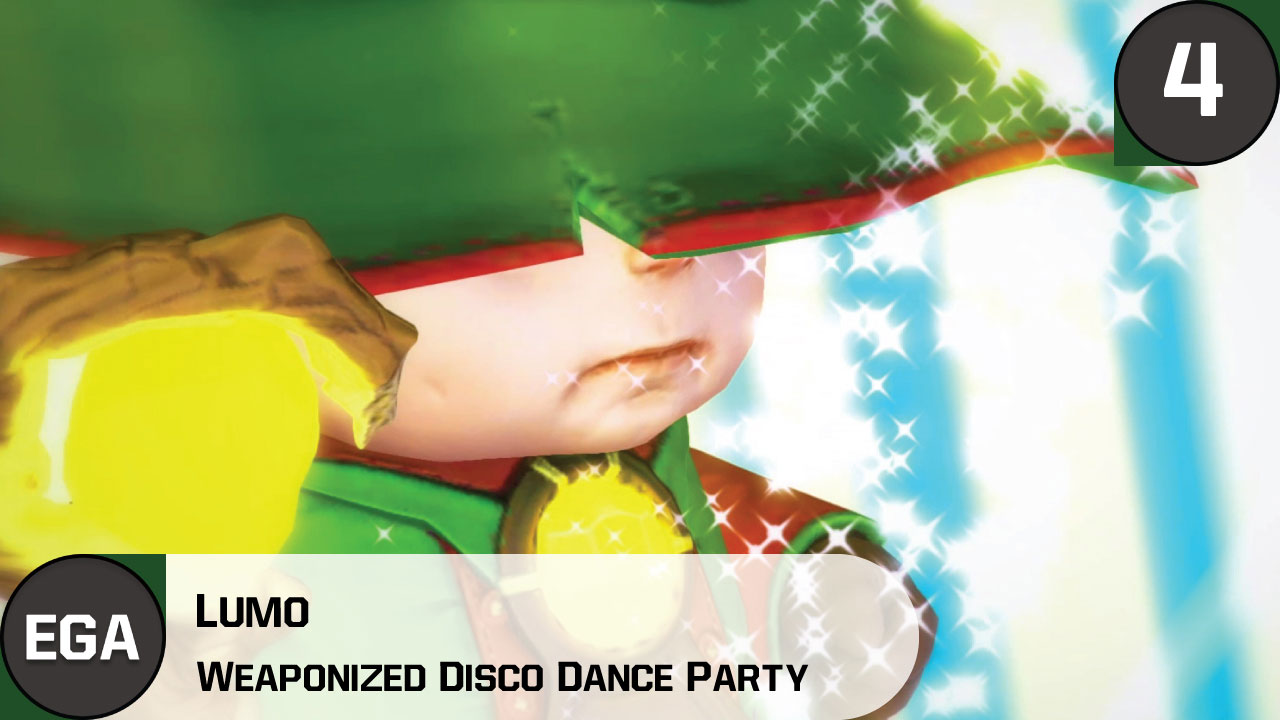
  • (4) Lumo Weaponized Spider Filled Disco Dance Party

    (4) Lumo Weaponized Spider Filled Disco Dance Party

    (4) Lumo Weaponized Spider Filled Disco Dance Party

    Having a Weapon Is Always Useful in Lumo

    Right off the bat of this episode in Lumo after some mine cart chaos, we enter a creepy run filled with coffins and a door leading to straightaway to a pedestal. We grab a little wand looking thingamabob with a yellow crystal stuck in it. The little wave to the player is a nice touch and we’re back out into the thick of it. Running to a room ahead I forget what I just got and instantly die by the spiders. Thus I learn that we can’t utilize the wand yet as it needs fuel for it to work. So for now, I just pull a lever and go over the spiders.

    Getting a Weapon in Lumo
    Takes a while but you finally get something to defend yourself, from the spiders

    All Weapons Need Ammo I Suppose

    Dodging some more spider along the route forward we come to a room with a lantern in it. Grabbing the lantern allows the wand to gain the power it needs to now function. Now being equipped with a power bar on the side we can use the wand to create a nice glowing yellow light. Spiders, in turn, do not like this light. Shining the light makes the spiders scurry away, this allows us to move forward past their defensives. You recharge the lantern by grabbing little floating lights and it will most likely come into play for some puzzles later on.

    Lumo Running Away from Spiders
    Yeah, you’d better run

    Killing Spiders All The Merry Way To The Gemstone

    Moving into a big room we kill a great big spider with our new wand. Then it’s just managing the power of your wand to the end. This is where the Gemstone we need is located. The puzzle of the room is simply managing your magic wand’s power to not get overwhelmed by the spiders.

    Gemstone at the end of the maze
    Reaching the gemstone isn’t too easy and isn’t too hard, it’s just right

    Dealing with the Grim Reaper to Get to the Dance Party

    Returning to the statue with the Gemstone allows us to proceed through the newly opened door. As we do the statue comes to life and chases us down a hallway. As we get to the end of the hallway and onto a bridge, our hero decides to do a “You Shall Not Pass” joke to get to safety.

    You shall not pass over this bridge by a ghost
    You Shall Not Pass To This Glowing Thing Over Here

    We fall into a very cool room that builds itself. From here we have to color in all the parts of the floor by running on them. However, if you run over it again it reverts to normal. It’s a fun little sequence filled with color and challenge. Each section adds something new to make it just that much harder even though it’s always the same size. Upon completion, we get the letter “E”, I have no idea why but by looking at the notebook its gonna spell something.

    Lumo grabbing the letter E with fireworks in the background
    This episode is brought to you by the letter “E”

    Spider Shades

    As we leave the area we receive a nice-looking floppy disk and break the grim reaper that chased us earlier into a bunch of little reapers. Climbing a tower we run into probably the oddest thing I’ve encountered yet in this game. A spider with glasses on, now besides being weird, this does have some gameplay merit. This means that the spider is unaffected by the magic wand. Nothing too major just dodges its attacks and make it to the exit. But man this game never ceases to be unique in any way possible.

    Spider wearing glasses
    Yep, looking close enough you can see the glasses on this spider

    Getting through that oddness we get to the Flux Capacitor that we missed earlier and get to a annoying room. Now you just have to swing across the room but man does the controls not leave much room for error here. I cut out the ten minutes it took for me to cross this pit but it was not fun in any regard, just annoying to say the least. Clearing that we move a box to a lever, use the wand to illuminate a path to a door and use a teleporter.

    The Ice Level in Lumo Is up Next and It’s Not Fun

    I hate ice levels in games and Lumo is no exception in any regard. The ground becomes ice and you slide everywhere, it’s not fun, just a bad scene all around. You get a small glimpse at the end of this episode but it all comes to a head next time.

    Follow me into the icy hellscape.

  • (3) Lumo Mine Cart Chaos

    (3) Lumo Mine Cart Chaos

    (3) Lumo Mine Cart Chaos

    Working Our Way to the Mine Cart in Lumo

    Starting right where we left off in Lumo last time we’ve got four doors to pick from and of course I pick the wrong one right off the bat. The door next to it leads to a similar dead end, but at least we get a coin and take a quick bathroom break. Taking the complete opposite door brings us to a room with some easy conveyor belts to a map of the area were in. Learning that the last door is the correct door I make my way over there. This leads to some shifting walkways and room with the key we need. It’s as easy as moving the wheels on the ground to move the platforms into a position to make jumping over to the key possible. Grabbing the key allows us to open the door on the other side of the map.

    Lumo -3- Even Heros Need To Use The Bathroom
    Even heroes need to use the bathroom at some point

    Moving through the key door brings us to four more doors, it’s just a never-ending sea of doors in this place. It turns out to be no big trouble as you simply need to climb some cabinets to reach the ceiling and platform to the objective. After grabbing the wheel to the mine cart we proceed back and place the wheel on, this allows us to move forward.

    Aforementioned Mine Cart Chaos

    Lumo -3- Mine Cart Chaos
    This mine cart section is easily the best of the game yet!

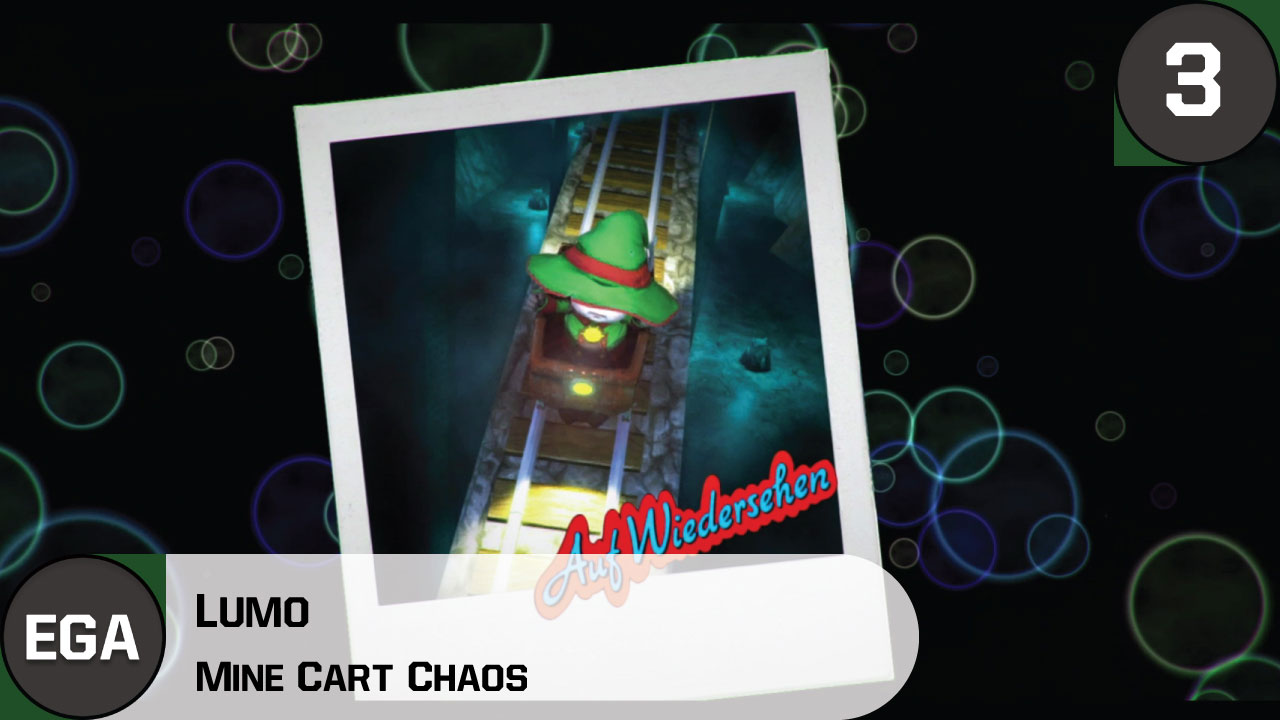
    The minecart doesn’t get more involved than just simply press X to jump and move left to right to change lanes. That being said it still is the best part of the game yet. It doesn’t overstay its welcome, it is a fun little diversion and manages to get move you forward. What more could you ask for really? I manage to screw up a fair amount of jumps, failing more than I should have. But I had to make sure I collected all the coins along the way. Simply because I have to get them all, it’s hardwired in me to collect everything. Towards the end, there’s a camera that takes your picture, and the character reacts. This is a nice touch and produces a neat little picture.

    Lumo -3- Mice Cart Picture
    I have no idea what that wording says but I bet its amazing

    Moving Below the Depths With New Creepy Crawlies

    Coming off the mine cart we end up in a what seems like a church. After a bit of exploring and obtaining a map and cassette tape, we press forward. The next part is simple as we just have to push three pillars into a position with no real trouble. The room we drop into has a grim reaper looking dude asking for a second gemstone. We have to get him one to open the door so it’s time to check out more random doors. Continuing to surprise we get a room where we have to swing on a rope and continue to a pullable lever. This opens a new door and we press onward.

    Lumo -3- Spiders Why Spiders
    Why oh why did it have to be spiders

    We run into a big gigantic spider and I leave the room as fast as I possibly can. Unfortunately, I run into another room with even more spiders, they’re just smaller. It doesn’t help that I did as soon as I enter the room. Inching my way to the last room that I have yet to check, I run in ready. Fortunately, the room just has a switch that kills the big spider. I move to where I once could no go swing to a door and learn how to swim.

    Swimming In the Depths

    Lumo -3- Swimming In the Depths
    You get an oxygen bar and everything

    Swimming is pretty basic, just jump when you need air and don’t jump to sink. You can use the air coming out of the ground to refill your oxygen bar. Pulling the lever is easy and opens the door to move forward. Following it we flip a switch and reveal a new rope to swing to the once inaccessible door. I decide to go down and run into a whole bunch of spider eggs, I grabbed the cassette and got out of there very fast. Lastly, we swim through some rooms pull one last lever and that’s where we call it for this episode.

  • (5) Oh My God What’s Even Happening in Horizon Zero Dawn

    (5) Oh My God What’s Even Happening in Horizon Zero Dawn

    (5) Oh My God What’s Even Happening in Horizon Zero Dawn

    Horizon Zero Dawn Allows Time For Reflection

    After fighting for survival, playing Horizon Zero Dawn continues to be emotionally exhausting, now I may be in a majority here. But I tend to get emotional with most games I play. I’ll cry if something sad happens, I’ll get mad along with the main character and I’ll want revenge if given the chance. In my mind, I don’t see a point in playing a campaign if you’re not going to hunker down and invest yourself. It just makes everything way more fun and allows you to become a part of the world. Heck, it’s the primary reason I made this site, to express my feelings and thoughts alongside my gameplay videos.

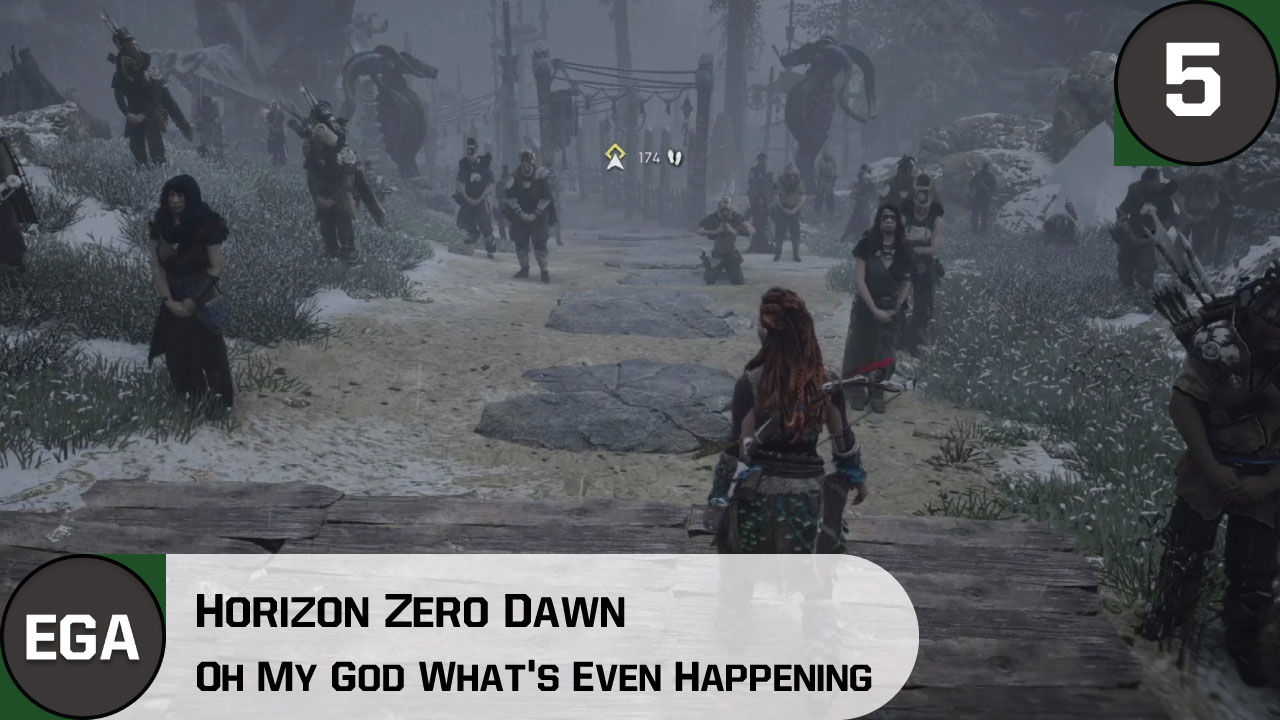
    Aloy standing in front of a gate with fog
    This picture sums up what has happened lately pretty well

    We start with a scene of mourning as everyone came around to pay respects to the fallen in The Proving. It’s a slightly sad walk down the road, it’s kinda cathartic in away. It gives you ample time to process everything that just transpired for poor Aloy. This is what Horizon Zero Dawn excels at, making something happen but allowing you time to disgust it. Let’s analyze things real fast; Rost died, everyone else at The Proving died, Aloy is now a seeker, wow that was fast.

    Alright Just Never Let Your Guard down in Horizon Zero Dawn

    We run in Teb by the gate we’re trying to leave through just for a little recap on everything that has transpired. Anyway time to leave but first we have to get that gate open. Unfortunately, to open the gate we need Resh to order it open, he was the guy that was in charge of the first part of The Proving. Of course, he is completely unhelpful and really rude after learning that Aloy is now a Seeker. I decide to air on the side of intelligence and outwit him which was a reasonable move. I just didn’t want to incite more violence, there was enough of that lately.

    Corrupted Robots
    This new machine baddie is corrupting the other machines for evil

    Just as soon as we’re about to butt heads a new machine comes out of nowhere and sends out so bad mojo. I’d imagine it’s being controlled by someone with a focus, but basically, it’s taking control of the other machines. This is bad, like really bad; super amazingly bad. The machines rushed the gate and we had to be ready for one hell of a fight. Of course, I blow the beginning by not trapping the spot right in front of the door. Man, I felt so dumb cause this disrupted everything after the gate was torn open.

    Defending the Village from the New Threat as All Hell Breaks Loose

    Walls Crumbling Down and Aloy needs to defend the gate
    The gates to the village have been opened and the odds are not in our favor

    From this point its just a fight to stave off the oncoming horde of machinery. I did not handle this fight exceptionally well, I felt very underprepared. Now I’m not to say that it felt cheap I just don’t think I handled it all that well. While the not big scary machines went down with little to no problem the new menace was a whole different story. No matter what arrow I used it didn’t seem to matter much when trying to do damage. Regular arrows weren’t worth it, fire arrows just felt worthless and the TripCaster was no help at all. Any attempt at going in for a melee attack just ended with me thrown around with a big chunk of health taken off.

    The only recourse I had was to keep my distance and just take its health down bit by bit. Now I do realize that I could have been more calculated and taken off his body parts with some good strikes. However, amid battle, it was way too intense and it moved way to fast for me to even think about it. Let alone pull it off with my awful aim. In the end, I just kept my distance, dodged his long-range attack, and whittle its health down till it died. It felt like a long time even though it wasn’t a very long battle. After taking it down we retrieve the part is was using to control the other machines and add it to our arsenal.

    Staff Upgrades for Aloy
    Yep that looks professional

    O’ Brother Where Art Thou

    Now Aloy thinks we can control the machines herself with the thing we pulled from the machine. So we gotta test this theory out. However, before we get the chance I hear a voice in the distance who needs assistance. Turns out Olara needs help finding her brother, thankfully as Aloy has just passed The Proving she has no quarrels talking with her. We ask some questions and zip line down to the scene of the crime. We arrive at a deserted camp and do some investigative work that devolves into following a blood trail.

    Aloy following a Blood Trail
    Being a master detective is a truly useful skill in the wilderness

    Turning on the Focus reveals that the blood managed to travel quietly the ways away from the camp. We find a knife, a bucket, fight off some machines, check out a pig head and reach a machine doing something odd. We discover that the brother must be a good fighter as he managed to take down a machine. But soon after we find a bunch of discarded food and gear. We finally catch up to the brother as we hear him shouting how he’s going to kill himself. Which you know is never a good thing.

    Talking Brom Down From the Ledge

    Talking Brom off the ledge
    Man this game can just be one gut punch after another and this is just a side quest

    Brom thinks he hears voices telling him to do terrible things. Taking a moment to analyze the situation I decide to choose the choice where we talk to him rationally. By making him come closer we talk him away from the ledge. After a little crazy chat Olara (his sister) states that she was following us and just glad we found him. With the choice of letting him go with her or back to a tribe for help, I decided to leave him with his sister. Now is this going to come back to haunt me, I’m not sure but I sure am curious.